This post may contain affiliate links. If you make a purchase through these links, I may earn a small commission at no extra cost to you. Thank you so much for your support.
These easy winter crafts for preschoolers are for the days when you want to make something together and all you have is a stack of paper, a little paint, and whatever’s left in the craft drawer.
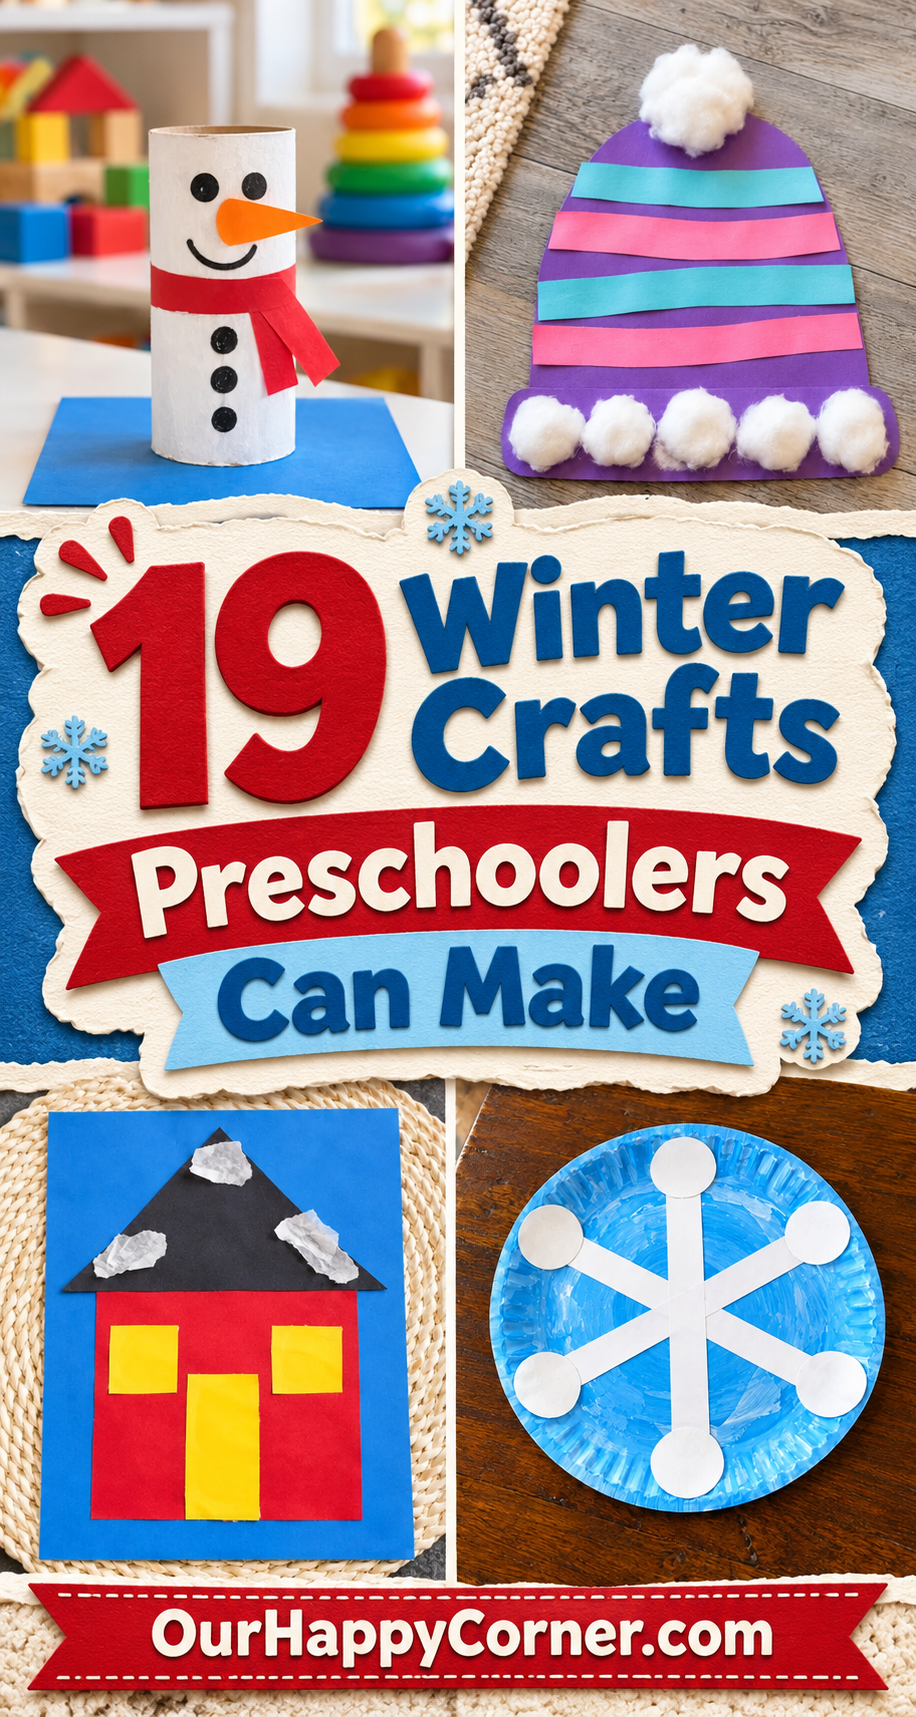
I’d start with the torn paper tree if you want to get right to it. If your child would rather paint, the sponge-stamped snowman is a good one to try together.
I’ve included little projects you can finish in one sitting, plus a few that need time to dry. They work just as well at the kitchen table as they do in a preschool classroom.
Pick one your child is excited about, set out what you need, and give them room to choose their own colors. The little changes they make are often my favorite part.
Before You Set Out the Supplies
For easy winter crafts for preschoolers, I like to get the adult cutting done first. That gives children more time to tear, stamp, draw, and glue.
Put paper scraps in shallow containers, use washable paint and glue, and give wet projects a place to dry flat.
Stay nearby while children work with scissors, foil, plastic wrap materials, and stickers. For children who still mouth objects, use large paper shapes and drawn details.
Winter Crafts for Preschoolers
1. Torn Paper Snowy Tree
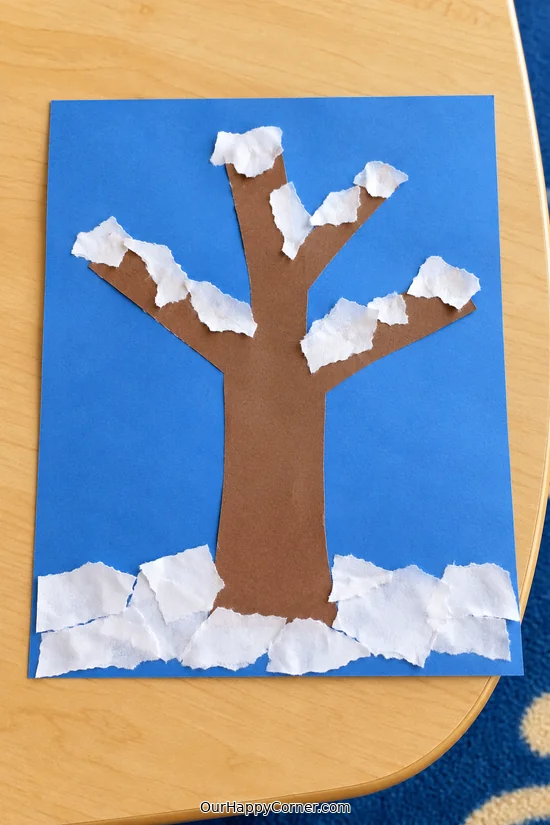
Green paper scraps make a lovely uneven edge on this snowy tree.
Give your child a few larger scraps to tear. They can decide how wide the branches should go.
I’d keep the white paper in a separate little pile so it’s easy to find when they’re ready to add snow.
Start here if you’re looking for easy winter crafts for preschoolers that need only paper and glue.
Supplies: Green, brown and white paper, cardstock, glue stick.
How to make it:
- Glue a brown paper trunk onto cardstock.
- Tear green paper into pieces and overlap them in a tree shape, wider at the bottom.
- Tear small white pieces and glue them onto the branches and below the tree.
2. Sponge-Stamped Snowman

A sponge stamp makes it easy to build a snowman from round white prints.
I’d try the first stamp on a scrap so your child can see how hard to press.
Give the paint a few minutes to dry before you add the face. That way the marker can glide across the paper.
The two circles can touch or overlap a little. Either way, there’s plenty of room for a face.
Supplies: Blue cardstock, round sponge, washable white paint, markers, orange paper, glue.
How to make it:
- Dip a round sponge lightly in paint and stamp the body.
- Stamp a smaller head above it and let both circles dry.
- Glue on an orange paper nose and draw the eyes, mouth and buttons.
3. Stripy Paper Winter Hat

A row of paper stripes can turn a plain hat shape into something your child would actually want to wear.
You can set out just two colors and see what pattern they make.
If they’d rather put all the stripes close together or mix up the order, let them see how it looks.
I like easy winter crafts for preschoolers that give children a chance to repeat a simple pattern.
Supplies: Cardstock, colored paper strips, glue stick, scissors.
How to make it:
- Cut a winter hat shape with a wide brim from cardstock.
- Glue colored strips across the hat and trim any pieces that extend past the edge.
- Add a paper brim and a round paper pom-pom at the top.
4. Torn Paper Mitten Pair

These mittens give your child two little canvases to cover with torn paper.
I like putting the shapes side by side so they can see where each thumb goes.
Matching colors on both sides is fun to try, and two different mittens look just as cheerful.
Once the mittens dry, put them up together so the two designs are easy to see.
Supplies: Cardstock, colored paper, glue stick, scissors.
How to make it:
- Cut two mirrored mitten shapes from cardstock.
- Tear colored paper into pieces and glue them across both mittens.
- Trim the edges if you like, then add a paper band across each cuff.
5. Paper Plate Snowflake
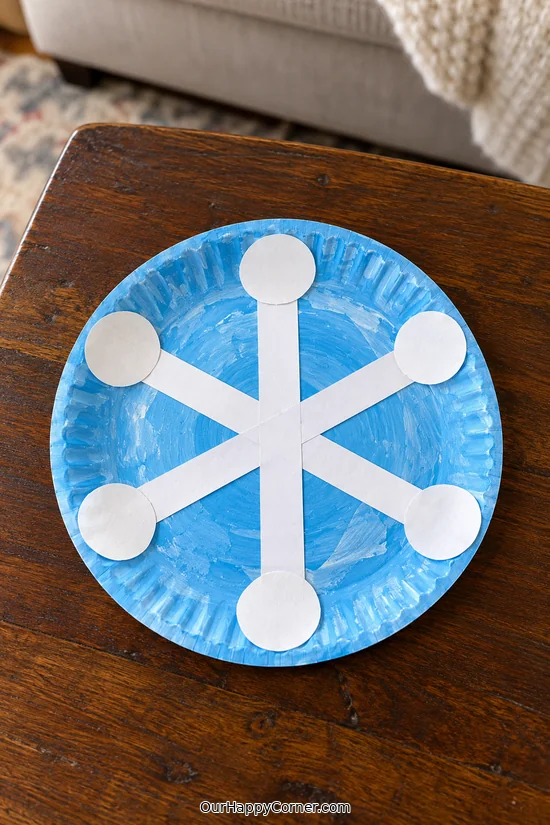
A paper plate makes a sturdy background for a big snowflake.
Start with lines that cross in the middle so your child can build the pattern outward.
The branches can be simple. A few short marks at the ends already give it that snowflake shape.
For easy winter crafts for preschoolers with a big surface to paint, I often reach for a paper plate.
Supplies: Paper plate, blue and white washable paint or markers, brush.
How to make it:
- Color the plate blue if you want a contrasting background and let it dry.
- Paint three white lines crossing in the center.
- Add short angled branches to the ends and let the plate dry flat.
6. Scrunched Tissue Paper Snowy Hill
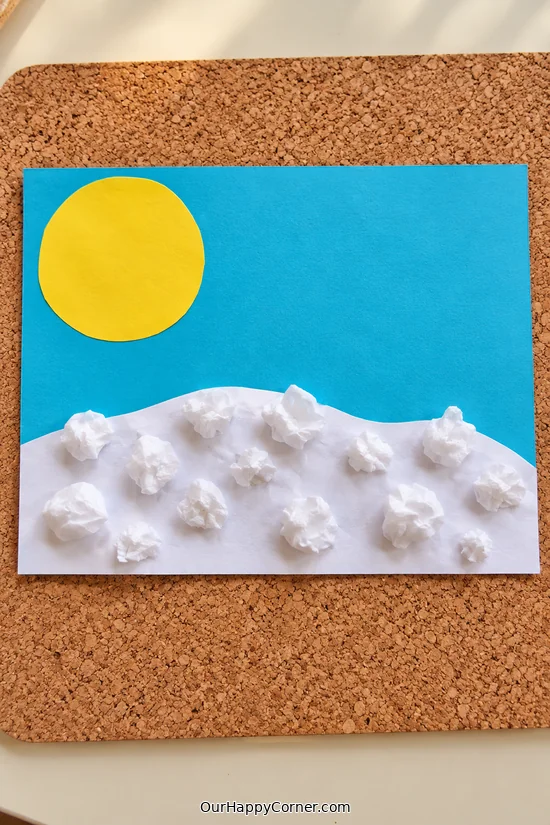
The little tissue paper tufts make this hill look like it has just had a fresh snowfall.
Draw a soft curve across the page so your child knows where the snow can go.
I’d let them scrunch each piece loosely. The fluffy bits give the hill its texture.
Start with a small handful of tissue. You can always tear a little more.
Supplies: Blue cardstock, white tissue paper, washable school glue.
How to make it:
- Draw a curved hill on the cardstock.
- Tear and scrunch pieces of white tissue paper.
- Spread a little glue below the curve and press the tissue into it. Let the picture dry flat.
7. Cardboard Tube Snowman
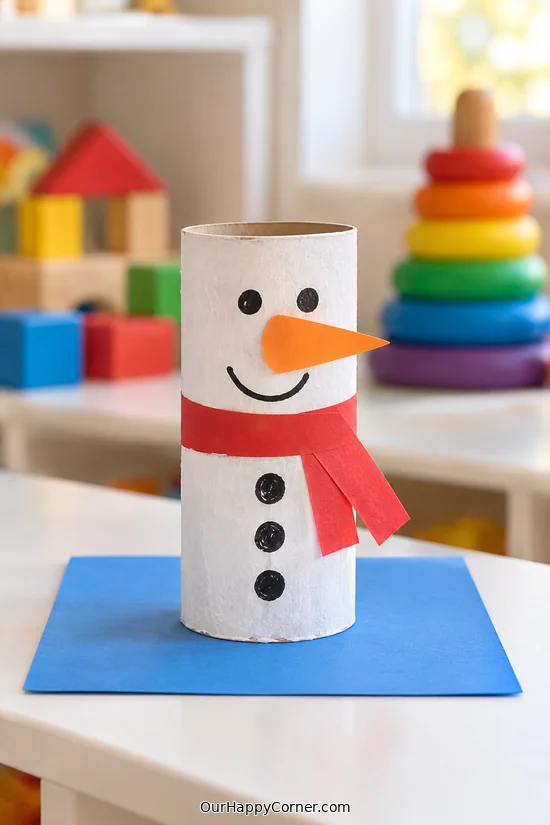
A cardboard tube gives this snowman a sturdy body that can stand on its own.
Wrapping it with white paper leaves a nice smooth place for your child to draw the face.
Try setting it next to a snowy picture they made. It can become a little character in their winter scene.
This is one of those easy winter crafts for preschoolers that can double as a prop for a story.
Supplies: Clean cardboard tube, white and colored paper, marker, glue stick, scissors.
How to make it:
- Wrap the tube in white paper, keeping the bottom edge level.
- Draw eyes, a smile and buttons, then glue on a paper carrot nose.
- Wrap a colored paper strip around the tube for a scarf and glue its ends down.
8. Scrunched Foil Ice Prints
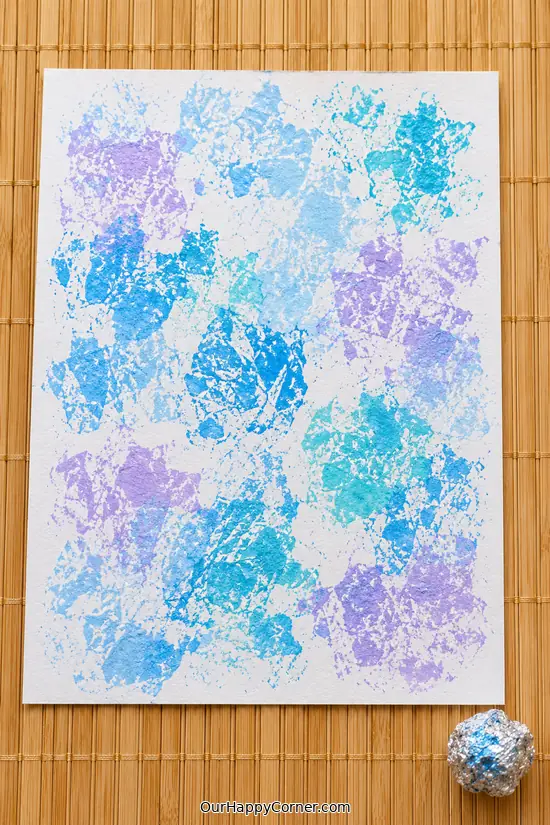
A scrunched piece of foil leaves broken marks that look a little like frost.
Show your child one light print first, then let them try turning the foil between stamps.
You’ll see more of the little ridges if you spread the paint thinly on the tray.
Try a second print without reloading the stamp and see how much lighter it comes out.
Supplies: Aluminum foil, blue or white washable paint, cardstock, paint tray.
How to make it:
- An adult folds the foil edges inward and scrunches it into a large stamp.
- Dip the textured side lightly into paint.
- Press and lift it straight up. Repeat across the paper and let the prints dry.
9. Paper Plate Winter Wreath

A paper plate ring is easy for small hands to turn while they work around it.
Set out pieces in a few wintry shades and let your child choose how much of the plate to cover.
Once it’s dry, you can hang it where they’ll spot it every time they come into the room.
If you want easy winter crafts for preschoolers you can display on the door, a paper wreath is a sweet choice.
Supplies: Paper plate, colored paper, glue stick, scissors, optional hanging loop.
How to make it:
- An adult cuts the center from a paper plate.
- Tear or cut large decorative paper pieces, then glue them around the rim.
- Let the wreath dry and have an adult attach a short hanging loop if desired.
10. Dot-Painted Paper Sweater
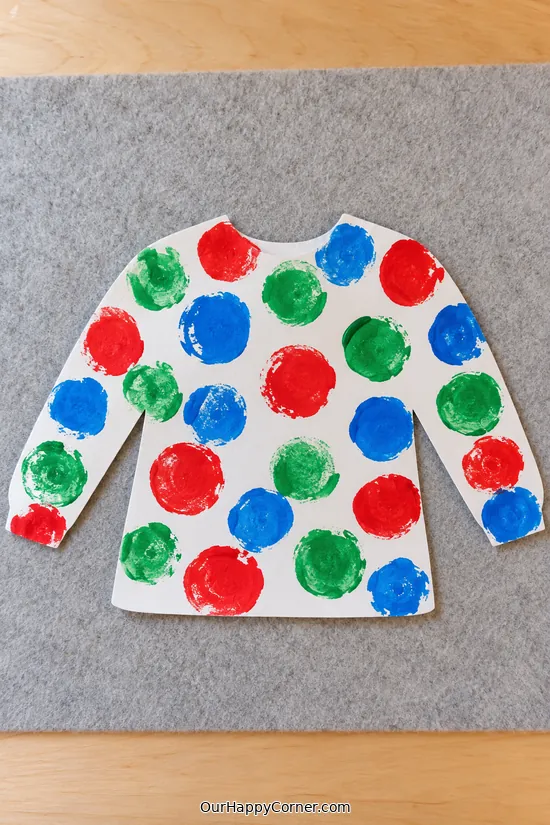
A paper sweater is fun to decorate because the sleeves and the middle can each have their own pattern.
My first pick would be a row of big dots across the chest, but your child might start at the cuffs.
A chunky sponge dauber makes dots without needing to hold a small brush steady.
Give each color its own small space on the tray so the first few dots stay bright.
Supplies: Cardstock, washable paint, sponge dauber, scissors.
How to make it:
- Cut a large sweater shape from cardstock.
- Dip a sponge dauber lightly into paint and stamp dots over the sweater.
- Leave it flat to dry before adding any marker details.
11. Snowy Paper Window
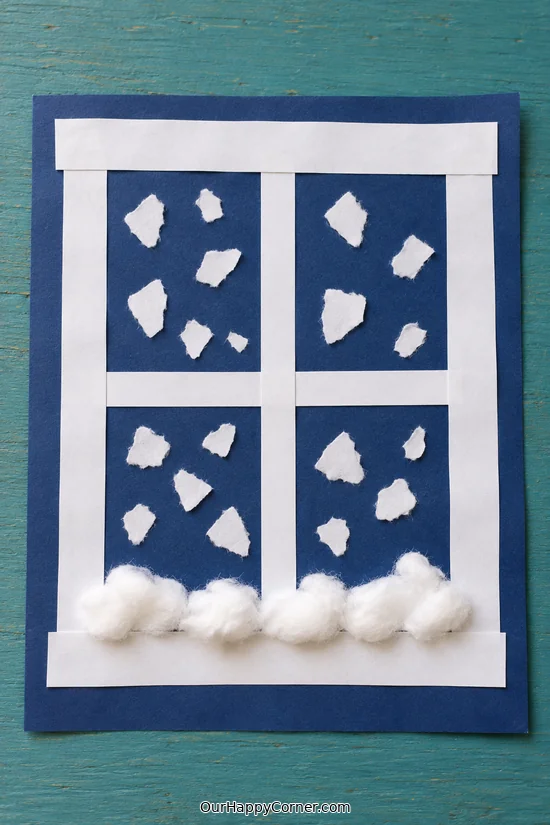
A paper frame makes this little winter scene look like a view from inside.
Ask your child what they’d like to see outside their window. A tree or a snowy hill is enough to get started.
I’d add the frame last so they have a whole page to work on first.
Save this one with your easy winter crafts for preschoolers for a day when your child wants to draw as well as glue.
Supplies: Blue, white and contrasting cardstock, markers, glue stick, scissors.
How to make it:
- Make a snowy scene on blue cardstock with torn white paper and drawn details.
- Cut paper strips to frame the outer edges.
- Glue one horizontal and one vertical strip over the scene to make four panes.
12. Coffee Filter Winter Colors

Watching the colors travel through a coffee filter is half the fun here.
Blue and purple can bleed into each other, and leaving some white space gives the design a frosty look.
Set the filter on a tray before you add water so there’s somewhere for the extra color to go.
One light mist is a good starting point. Too much water makes the filter hard to lift.
Supplies: White coffee filters, washable markers, water spray bottle, tray.
How to make it:
- Flatten a coffee filter on a tray and draw on it with washable markers.
- Mist it lightly and watch the colors spread.
- Let it dry completely before lifting or displaying it.
13. Bubble Wrap Snowy Mitten Picture

Bubble wrap gives a paper mitten a snowy pattern in one quick press.
Try painting the bubbles lightly so your child can see the individual circles after lifting the wrap.
I’d cut the mitten beforehand if you’re making this with a group. That leaves more time for stamping.
I’d pick this from the easy winter crafts for preschoolers for a child who likes discovering what a stamp can do.
Supplies: Cardstock, bubble wrap, washable white paint, brush, scissors.
How to make it:
- Cut a large mitten shape from colored cardstock.
- Brush white paint onto the bumpy side of a piece of bubble wrap.
- Press it onto the mitten, peel it off and let the dots dry.
14. Cotton Pad Snowman

Round cotton pads make an easy starting point for a soft, flat snowman.
Let your child arrange the circles before gluing. They might like their snowman a little taller or closer to the ground.
Paper details sit best when you give them a small dab of glue and let the whole picture dry flat.
Try laying out the scarf and nose before gluing so your child can move them around.
Supplies: Cotton pads, blue cardstock, colored paper, marker, washable school glue.
How to make it:
- Arrange cotton pads on blue cardstock to make the snowman.
- Glue them down and add a paper nose and scarf.
- Add paper eyes and buttons or draw them on paper first, then glue them in place.
15. Textured Snow Painting

You can make a snowy picture with thick dabs of white paint and a brush that leaves visible marks.
I’d put a little paint on a tray so your child can reload the brush without dipping into the whole bottle.
Dark paper makes it easy to see where the snow is thin and where it has piled up.
If your child likes dabbing paint, put this on your list of easy winter crafts for preschoolers to try next.
Supplies: Sturdy dark cardstock, thick washable white paint, sponge or stiff craft brush.
How to make it:
- Dab white paint near the bottom of the card to make snowy ground.
- Use the sponge or brush to add snow in the sky and build up texture in a few spots.
- Let the picture dry flat before moving it.
16. Winter Paper Chain
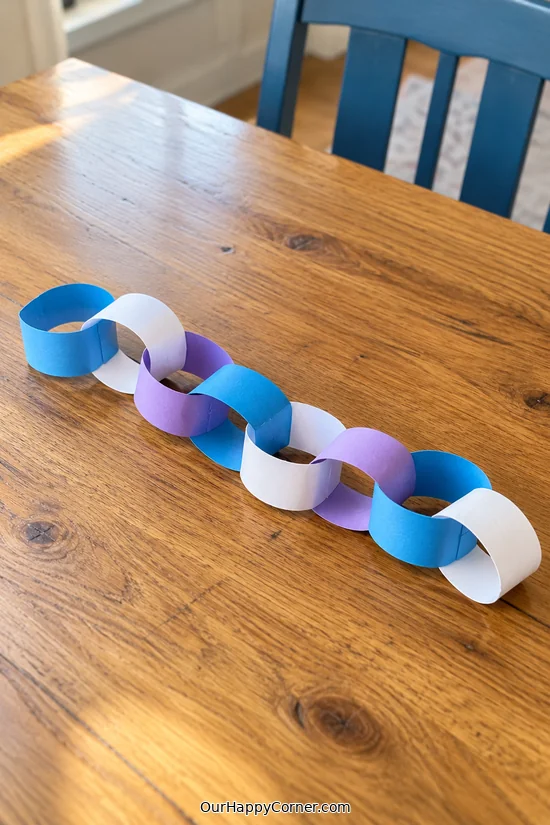
A paper chain grows quickly, which is satisfying when a preschooler wants to see what they’ve made right away.
Try laying out a few blue and white strips in order first. Then your child can take them one at a time.
Even a short chain looks sweet across the corner of a bulletin board.
Take turns holding and closing the links if the ends keep springing apart.
Supplies: Blue and white paper strips, glue stick or tape.
How to make it:
- Overlap the ends of one strip and secure them to make a ring.
- Thread a second strip through the ring before closing it.
- Repeat with the remaining strips, alternating colors if your child likes.
17. Snowy Shape House
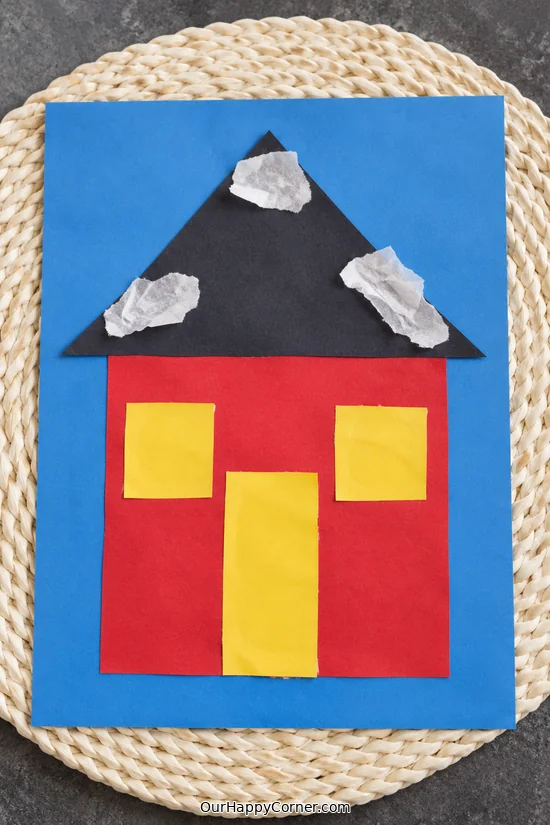
A square and a triangle are all you need to start a little paper house.
Let your child choose where to put the door and windows before you bring out the glue.
A strip of white paper along the roof makes it look like snow settled there overnight.
This is one of my favorite easy winter crafts for preschoolers for talking about shapes while you make something together.
Supplies: Colored cardstock, white paper, glue stick, scissors.
How to make it:
- Cut a square house, triangle roof and small rectangles for the windows and door.
- Arrange and glue the shapes onto a sheet of cardstock.
- Add torn white paper along the roof and ground for snow.
18. Handprint Winter Tree
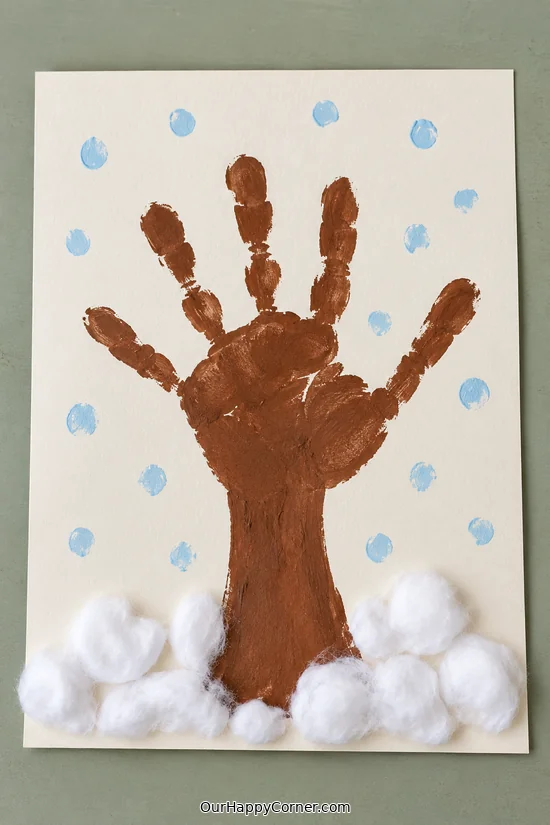
A handprint gives this winter tree a trunk and branches all in one go.
Let your child spread their fingers so there’s plenty of space to add snowy marks between them.
Keep a damp cloth nearby so they can clean their hand while the print dries.
You can write the date on the back if you’d like to keep the handprint.
Supplies: Cardstock, washable brown and white paint, brush.
How to make it:
- Brush a thin coat of brown washable paint onto the hand and press it onto the paper with fingers spread.
- Lift the hand, wash it and paint a short trunk below the print if needed.
- Once the brown paint dries, dab white snow onto the branches and ground.
19. Winter Night Sticker Picture

A dark sheet of paper and a few stickers are enough for a quiet winter craft.
I’d set out big stickers that are easy to peel and let your child choose where to put them.
Leave a little room at the bottom if they want to draw snow or add a white paper hill.
Keep this idea handy when you need easy winter crafts for preschoolers with very little setup.
Supplies: Dark blue cardstock, winter or star stickers, white paper, glue stick.
How to make it:
- Tear or cut a white paper hill and glue it along the bottom of the cardstock.
- Peel and place stickers across the night sky.
- Add a few white crayon marks or extra paper shapes to finish the picture.
More Winter Activities to Try
If your child wants to make a penguin or polar bear next, take a look at these winter animal crafts for kids.
For a quieter afternoon, you can set out crayons and a few of these winter coloring pages.
Frequently Asked Questions
Which crafts can I set up quickly?
For easy winter crafts for preschoolers with little prep, start with the torn paper mittens, winter paper chain, or winter night sticker picture. Set out the paper pieces first so your child can get straight to making.
Can I use these crafts with a preschool group?
Yes. Set out one craft at a time, prepare any shapes that need adult cutting, and give each child their own piece of cardstock. A tray or labeled spot helps you keep track of everyone’s work as it dries.
Final Thoughts
The next time you need easy winter crafts for preschoolers, choose one that fits what you already have on hand. A few scraps of paper and a little time together can make a cold afternoon feel special.