This post may contain affiliate links. If you make a purchase through these links, I may earn a small commission at no extra cost to you. Thank you so much for your support.
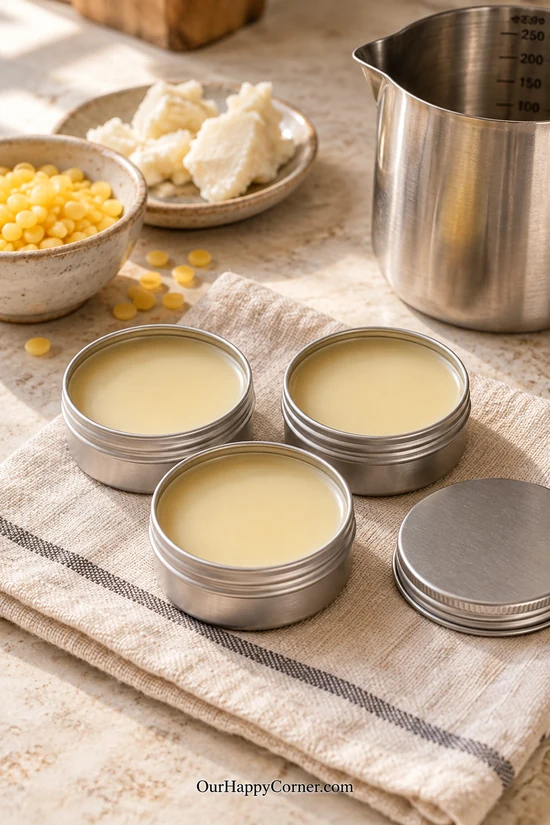
Learning how to make beeswax lip balm is easier when you can see each stage, from the little wax pellets in your mixing pitcher to the smooth balm in its finished container.
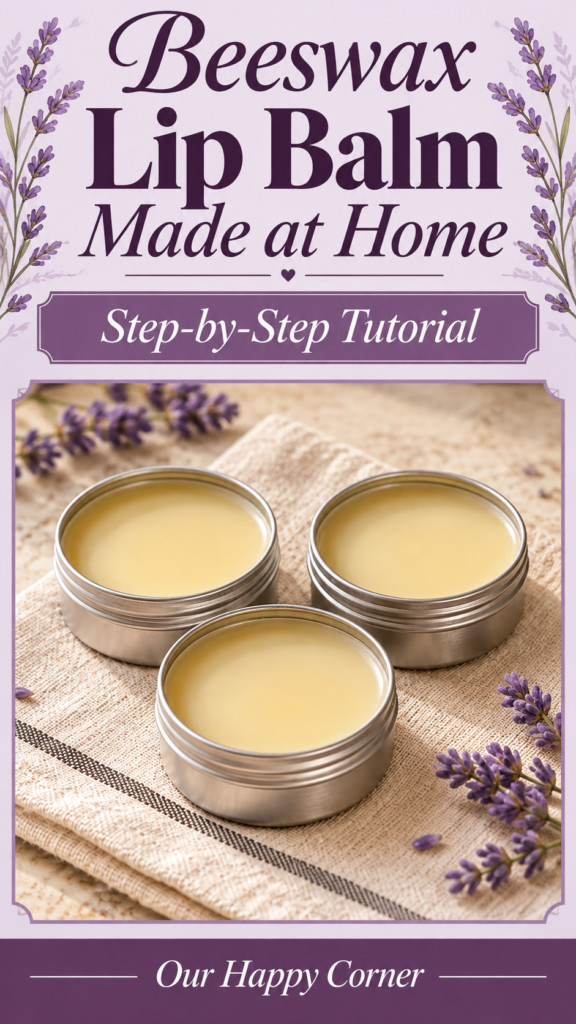
This beginner-friendly project uses beeswax, shea butter, and sunflower oil, with no added fragrance or flavor. Package your batch in small tins for home use or familiar twist-up tubes to tuck into a bag.
The guide below walks you through measuring, gentle melting, pouring, cooling, and labeling.
You will also find practical tips for choosing containers and adjusting the texture.
Use the measured recipe below rather than estimating quantities.
What to Expect From This Homemade Beeswax Lip Balm
Beeswax gives the balm structure, shea butter adds a creamy feel, and sunflower oil helps it spread.
The finished blend should be solid at ordinary room temperature while softening as you apply it.
Its firmness will vary with your ingredients and the temperature of your home, so treat the first small batch as an opportunity to find your preferred texture.
Does it have a scent? There is no added perfume or flavoring in this recipe, but that does not mean it will smell like nothing.
Yellow beeswax can have a mild honey-like aroma, and unrefined shea butter can contribute an earthy or nutty smell. Choose refined shea butter and a fresh, mild-smelling sunflower oil if you prefer a lighter natural aroma.
The scent will depend on the ingredients you buy; it will not be a deliberately scented vanilla, mint, or citrus balm.
Keeping the recipe fragrance-free also avoids an unnecessary complication for a first batch.
The American Academy of Dermatology notes that fragrance and certain flavorings can irritate dry, chapped lips.
This homemade balm is not a sunscreen and has no tested SPF. For sun protection, use a separate commercially formulated lip product labeled SPF 30 or higher.
Ingredients, Tools, and the Small-Batch Recipe
This 50-gram starting formula uses 20% beeswax, 30% shea butter, and 50% liquid oil by weight.
Make one batch before preparing gifts or increasing the quantities, especially if you plan to use tubes in a warm climate.
| Ingredient | Amount by weight | What to choose |
|---|---|---|
| Beeswax pastilles | 10 grams | Clean cosmetic-quality beeswax intended for lip products |
| Shea butter | 15 grams | Refined shea butter for a lighter natural aroma |
| Sunflower oil | 25 grams | Fresh, plain sunflower oil suitable for cosmetic use |
Estimated yield: about 10–11 standard 0.15-ounce (approximately 4.25-gram) tubes, allowing for residue and filling losses. For tins, have four 15-milliliter tins ready and fill below their rims.
Container capacity and actual yield vary; the pictures show a selection of containers rather than every container from one batch.
- A digital scale, ideally measuring in 0.1-gram increments
- Small glass bowls for weighing the ingredients
- A small stainless steel melting pitcher with a spout, suitable for use in a hot-water bath
- A saucepan wider than the pitcher and a stove or induction cooktop
- A stainless steel spoon, a dry heat-resistant mitt, and a clean towel
- New cosmetic tins or empty twist-up lip balm tubes with matching caps
- A compatible tube-filling tray or another stable upright tube holder
- Optional heat-compatible transfer pipette designed for hot cosmetic mixtures
- Labels, a pen, and a clean, dry work surface
Buy tubes specifically sold as empty lip balm containers and check the supplier’s filling-temperature instructions. Choose a pitcher that sits securely in the saucepan without tipping.
Keep all tools and containers completely dry before they touch the balm. Do not add honey, water, food coloring, or kitchen vanilla extract to this water-free recipe.
How to Make Beeswax Lip Balm
Step 1: Prepare Your Ingredients and Containers
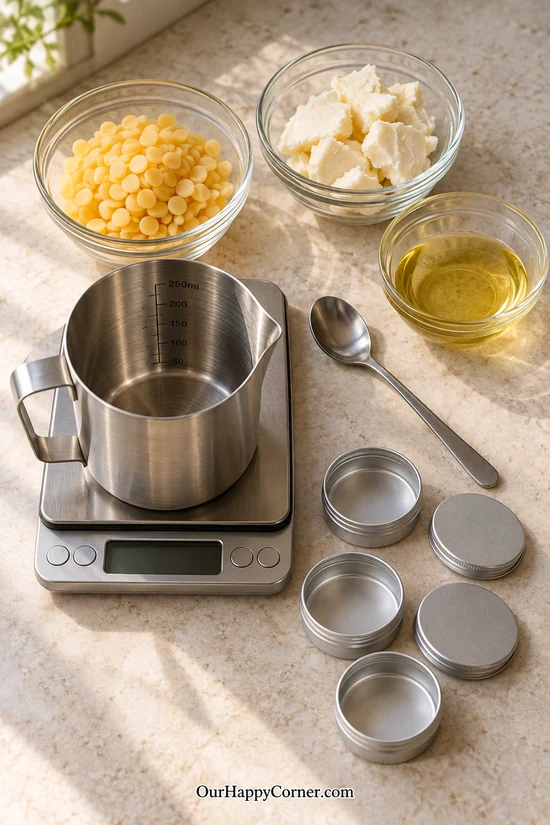
Set out your beeswax, shea butter, and sunflower oil before turning on the stove.
Wash your hands and clean the work surface. Prepare the tools and containers according to their suppliers’ instructions, then allow everything to dry fully.
Keep lids and caps nearby, away from the heating area. If you are using tubes, check that their twist-up platforms are lowered to the filling position.
Secure the tubes upright in their holder now so you do not have to arrange them while holding hot balm.
Step 2: Weigh the Three Ingredients
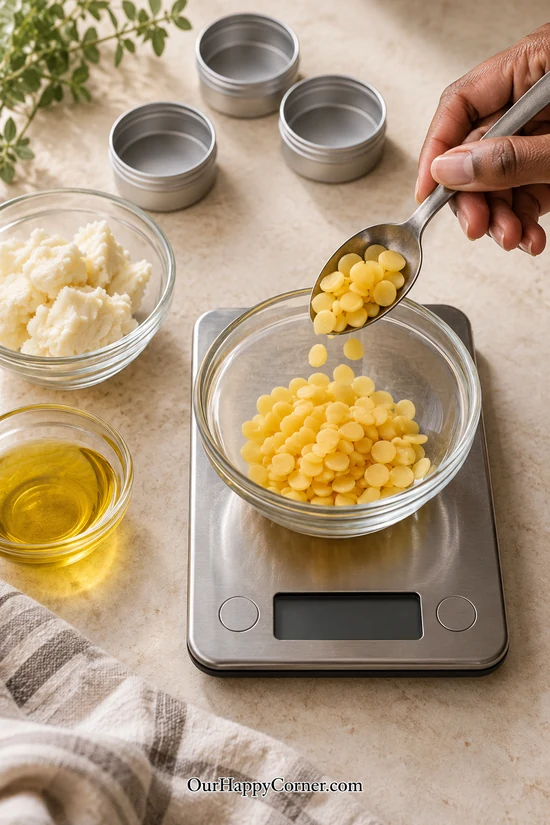
Place an empty bowl on your scale and press tare to reset it to zero. Weigh 10 grams of beeswax pastilles into the bowl. Repeat with separate bowls for 15 grams of shea butter and 25 grams of sunflower oil.
Measuring by weight keeps the proportions consistent even when the wax pellets or butter pieces are different sizes.
Do not substitute tablespoons for the gram amounts, because those measurements will not be equivalent.
Keep the weighed bowls beside your pitcher so the ingredients are ready to combine.
Step 3: Combine the Wax, Butter, and Oil
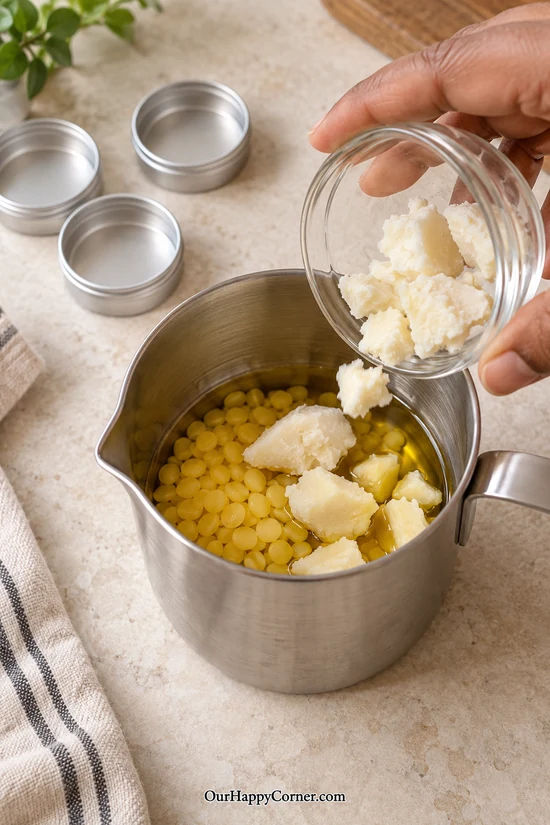
Transfer the weighed beeswax and sunflower oil into the dry stainless steel pitcher.
Add the shea butter, breaking larger pieces into smaller chunks with your spoon.
Scrape the weighing bowls so you leave as little of the measured ingredients behind as possible. At this stage, you should be able to see solid wax pellets and butter sitting in the liquid oil.
There is no need to crush the pellets or whip the mixture. Keep the pitcher level and make sure its spout and outside surface are clean before heating.
Step 4: Melt Gently in a Hot-Water Bath
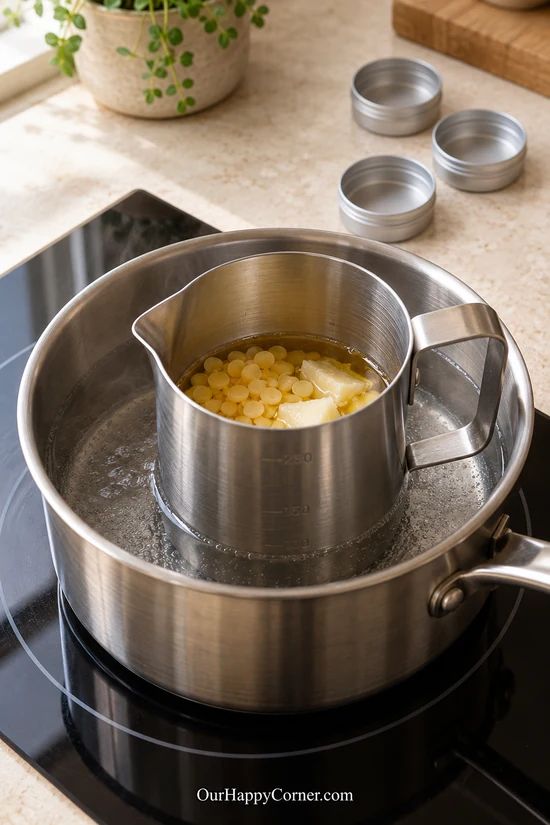
Add a shallow layer of water to the saucepan and place the pitcher upright inside it.
Check the water level after the pitcher is in position; it must stay comfortably below the pitcher’s rim. Warm the water over low heat until it is hot and gently simmering, rather than boiling vigorously.
The water surrounding the pitcher provides gentle heat while the ingredients soften.
Keep water from splashing into the balm, and do not let the pan boil dry. Stay beside the stove and use a heat-resistant mitt whenever you need to handle hot metal.
Step 5: Stir Until the Mixture Is Completely Liquid
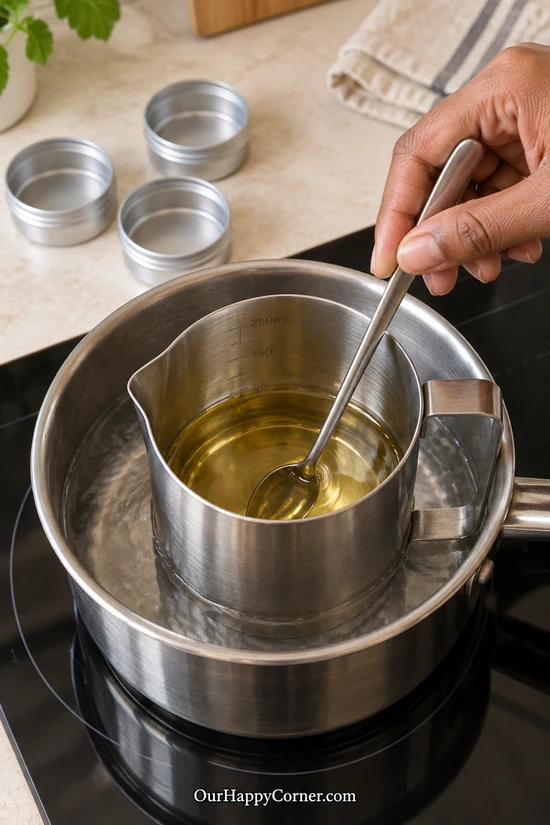
Stir gently with the stainless steel spoon as the wax and butter finish melting. Check the bottom and sides of the pitcher for any remaining pellets or pale butter pieces.
The mixture is ready to pour when it is fully liquid and evenly combined. Remove the pitcher from the water bath with your mitt, keeping it upright.
Carefully dry the outside and base with a clean towel so water cannot drip into your containers.
Pour while the mixture is still liquid, without holding it on the heat longer than necessary.
Step 6A: Pour Into Small Lip Balm Tins
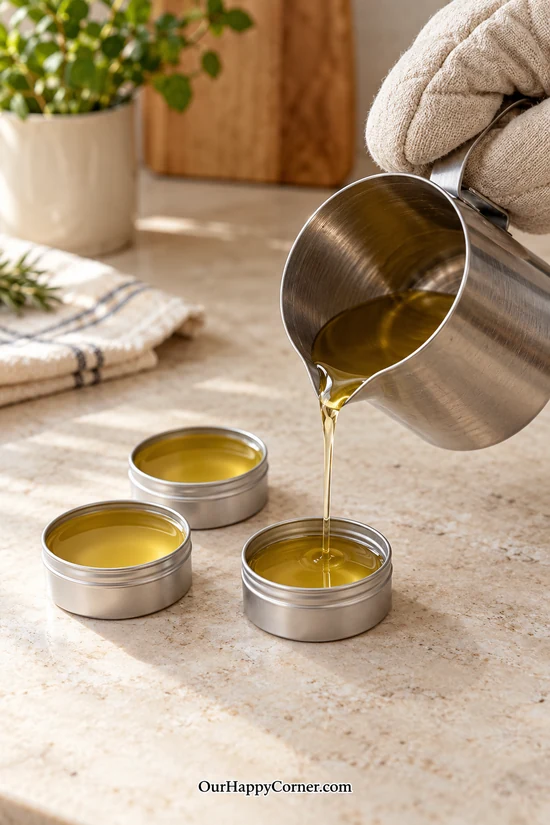
Arrange your dry tins on a level, heat-resistant surface where they can remain undisturbed.
Hold the pitcher with your heat-resistant mitt and pour a small, steady stream into the first tin.
Stop below the rim, leaving enough room to attach the lid once the balm is solid. Continue filling the remaining tins, rather than repeatedly topping one up to the very edge.
If the mixture begins to thicken in the pitcher, return it briefly to the gentle water bath until fluid again.
Tins are a practical choice if you like applying balm with a clean fingertip or a small clean cosmetic spatula.
Step 6B: Or Fill Twist-Up Lip Balm Tubes
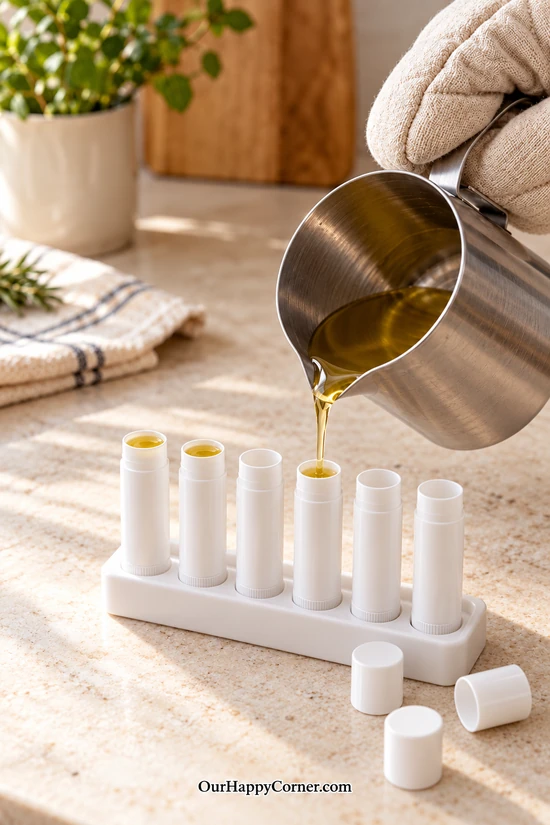
For the familiar pocket-size packaging, use empty twist-up tubes made for lip balm. With each platform lowered, secure the uncapped tubes upright in a compatible filling tray.
Follow the tube supplier’s recommended filling temperature and fill level. Use a heat-compatible cosmetic pipette for the greatest control, or pour carefully from a narrow spout as shown.
Add the liquid slowly and stop before it overflows the opening. Reserve a little melted balm in the pitcher in case a small dip develops as the contents cool; gently remelt that reserve and add a small top-up if needed.
Keep the tubes upright and leave the twist mechanisms alone until the balm has completely set.
Step 7: Let the Balm Cool Completely
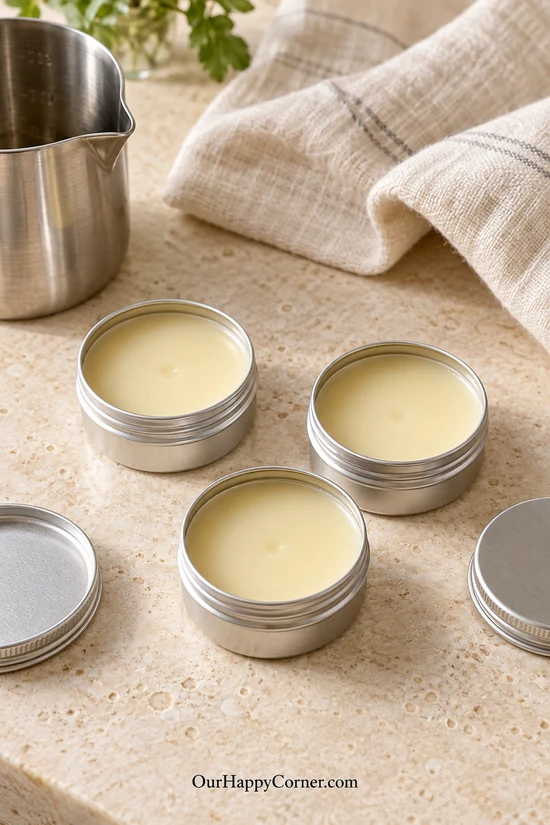
Leave the filled tins or tubes open and undisturbed in a cool room. The clear golden mixture will become opaque as it solidifies.
Small settling dimples are a cosmetic detail, rather than a reason to discard the batch. Wait until the containers have cooled to room temperature and the balm is solid throughout before attaching their caps.
Small containers may look set on top before their centers have finished cooling, so give them extra time if you are unsure.
Avoid placing the cooling batch beside the stove, in direct sunlight, or on a warm windowsill.
Step 8: Cap, Label, and Try Your Finished Balm
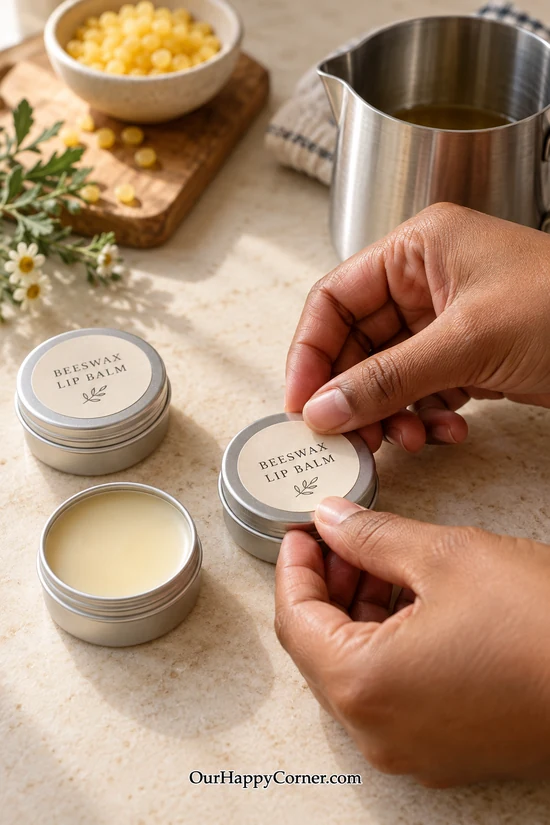
Attach the lids or caps once the balm has cooled fully. Label each container with the product name, ingredient list, and date you made it.
Keep the first container for yourself so you can assess the finished texture before giving any away. Apply a small amount with clean hands, or twist a tube up only a little so the stick is supported.
Stop using the balm if it causes burning, itching, or irritation.
For gifts, let the recipient know what is inside and avoid giving it to someone with a known sensitivity to any ingredient.
Two Easy Ways to Package Your Homemade Lip Balm
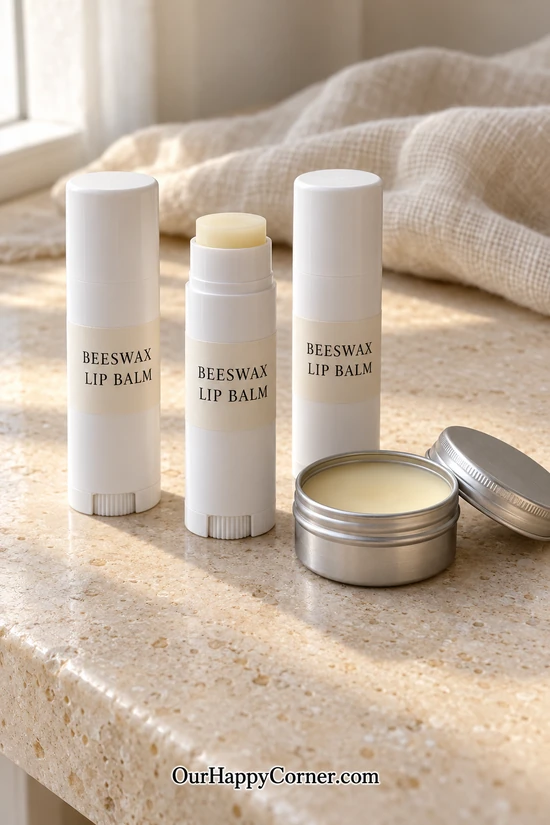
Choose tins if you want a small reusable-looking container for a bedside drawer or a gift set.
Choose tubes if you want to apply the balm directly without putting a finger into the product.
Narrow wraparound labels suit tubes, while round stickers work well on tin lids. Keep labels away from moving parts so the tube can twist and its cap can close properly.
For a gift, put one or two closed containers in a small paper bag or box and add a handwritten note. Our Christmas gift wrapping ideas offer finishing touches for homemade presents, and these free printable Christmas gift tags make an easy seasonal addition.
Include the ingredients on the package even when you also add a decorative tag.
Troubleshooting the Texture
Too soft for a tube: gently remelt the remaining batch and add a small measured amount of beeswax. Start with about 1 gram for a roughly 50-gram batch, then cool a sample before deciding whether to add more. A firmer blend may be needed in warm weather.
Too hard or waxy: remelt and add a small measured amount of sunflower oil. Make the adjustment gradually and check a cooled sample, rather than judging the hot liquid.
Grainy texture: shea butter can crystallize unevenly during cooling. Remelt until evenly liquid, pour promptly, and let the containers set in a cool environment.
Balm begins setting during filling: pause and gently remelt what is left in the pitcher. Do not increase the stove heat sharply to hurry it along.
A tube will not twist properly: let it set fully and check the container supplier’s instructions. Do not force the mechanism or repeatedly twist a soft stick up and down.
Storage, Shelf Life, and Adding Scent
Keep closed containers in a cool, dry place away from sunlight and hot cars. Use clean fingers or a clean spatula with tins, and keep water out of both packaging types. There is no lab-validated shelf life for this homemade batch, so do not assign it a guaranteed expiry date.
Make modest quantities, consider the freshness and storage directions of your raw ingredients, and discard balm if its smell, appearance, or texture changes unexpectedly. Vitamin E, if used in another recipe, is an antioxidant rather than a broad-spectrum preservative.
If you later want a scented version, follow a separate formulation using a flavor or fragrance ingredient explicitly approved for lip products at its documented usage rate.
Ordinary candle or soap fragrance oil is not an appropriate substitution. Kitchen extracts can introduce water or alcohol, and peppermint or citrus essential oils should not be added casually.
For this first batch, the three-ingredient version keeps the method clear and lets you assess the texture without extra additives.
Final Thoughts
Making beeswax lip balm is a satisfying way to turn three ingredients into something useful for your everyday routine. Start with one measured batch, use gentle heat, and give the containers time to cool before handling them. Whether you prefer the little tins or the convenience of twist-up tubes, the same basic method gives you a practical place to begin. Once you have checked the firmness and feel, you can choose the packaging that suits you best and make a few thoughtfully labeled gifts.