This post may contain affiliate links. If you make a purchase through these links, I may earn a small commission at no extra cost to you. Thank you so much for your support.
Learning how to make DIY homemade all-purpose surface cleaners is one of the easiest ways to save money on cleaning supplies!
You only need a few simple ingredients. You can make a bottle in about two minutes. And you probably have most of what you need at home already.
I’m sharing three of my favorite recipes: a vinegar spray, a castile soap spray, and a Sal Suds spray. Each one works a little differently, so I’ll walk you through which to use and where.
I’ll also share the mistakes that make DIY cleaners go wrong, plus one important thing about germs that a lot of blogs skip.
Which All-Purpose Cleaner Should You Make?
This comes down to what you’re cleaning.
The vinegar spray is great for hard water spots, soap scum, glass, and mirrors. But vinegar is an acid, so it is NOT safe for granite, marble, or other natural stone.
The castile soap spray is gentle and has no vinegar smell. It’s a good choice for sealed stone counters, but it can leave a white film if you have hard water.
The Sal Suds spray is the best all-rounder. It’s a concentrated cleaner from Dr. Bronner’s that cuts through grease, works on stone, and doesn’t leave a film in hard water.
What You Need
The supplies are simple.
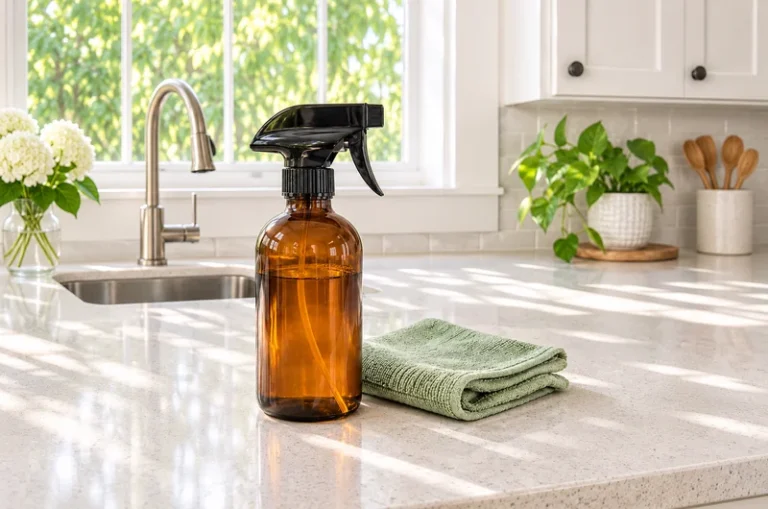
A 16 ounce spray bottle: Glass or plastic both work. Glass lasts for years and is easy to refill.
Distilled water: Tap water is okay if you’ll use the spray within a few days. Distilled water is better for storing, since it has fewer minerals and contaminants.
Distilled white vinegar: Look for 5% acidity on the label.
Liquid castile soap: Dr. Bronner’s Pure-Castile Liquid Soap is easy to find in most grocery stores.
Sal Suds: This is Dr. Bronner’s biodegradable all-purpose cleaner. You’ll find it at many grocery stores and home improvement stores.
Measuring spoons and a measuring cup: Accuracy matters here, especially with soap.
Microfiber cloths: These are perfect for wiping, dusting, and buffing.
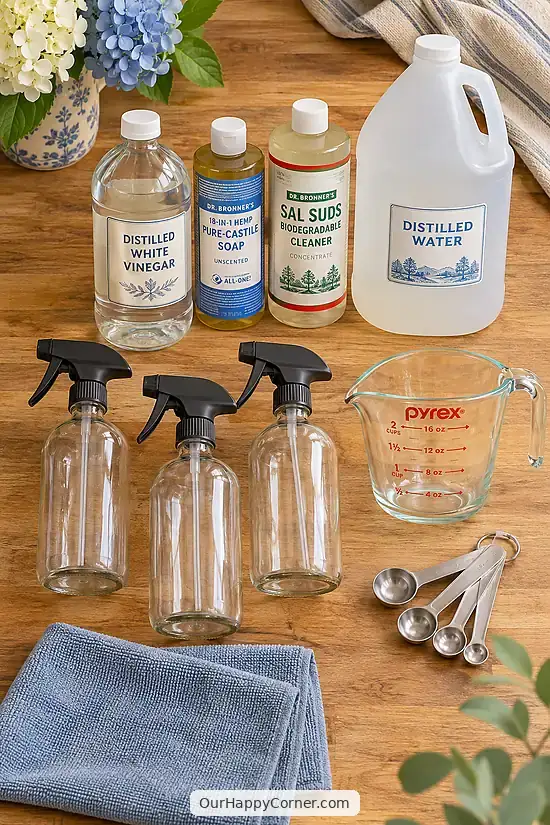
You don’t need all of these. Just pick the recipe you want to make and grab those ingredients.
Recipe 1: Vinegar All-Purpose Cleaner
This is the classic. It’s super easy and so budget-friendly! If you’d like more details, my DIY all purpose cleaner with vinegar recipe explains where to use it and what to avoid.
You’ll need 1 cup of distilled white vinegar, 1 cup of distilled water, and a 16 ounce spray bottle. If you want a little extra cleaning power, add 1/2 teaspoon of Sal Suds.
Step 1: Add the Vinegar and Water
Place a small funnel in your bottle. Pour in 1 cup of vinegar, then 1 cup of distilled water.
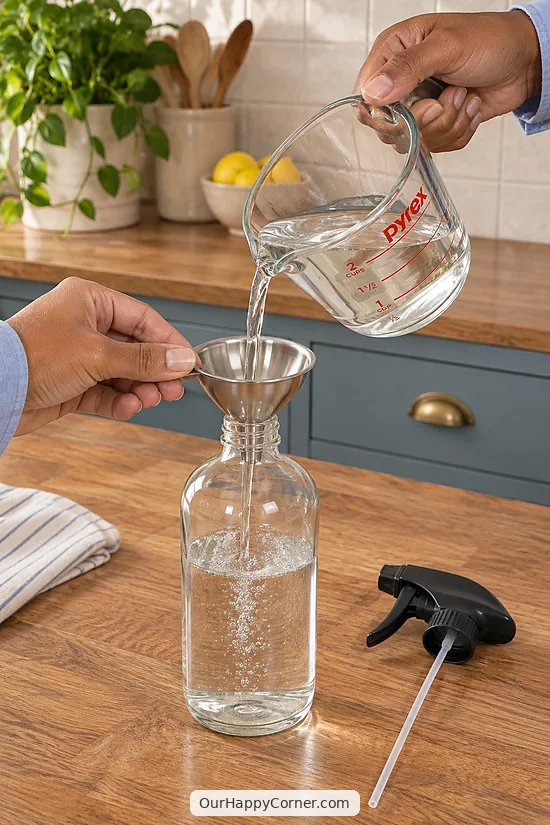
That’s a 1:1 ratio, which works well for everyday cleaning. A 16 ounce bottle will be filled right to the top, so I like to use a slightly bigger bottle, or pour in a little less of each, so there’s room to shake.
Step 2: Shake and Label
Put on the spray nozzle and give the bottle a gentle shake.
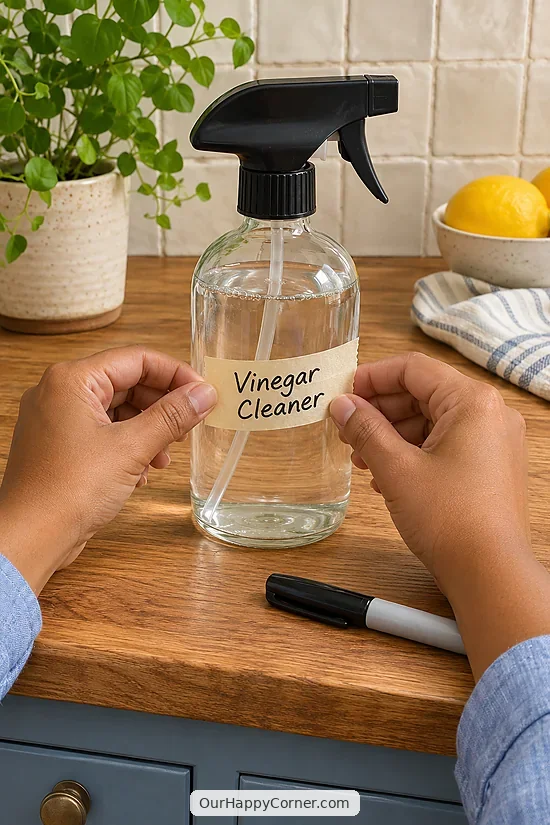
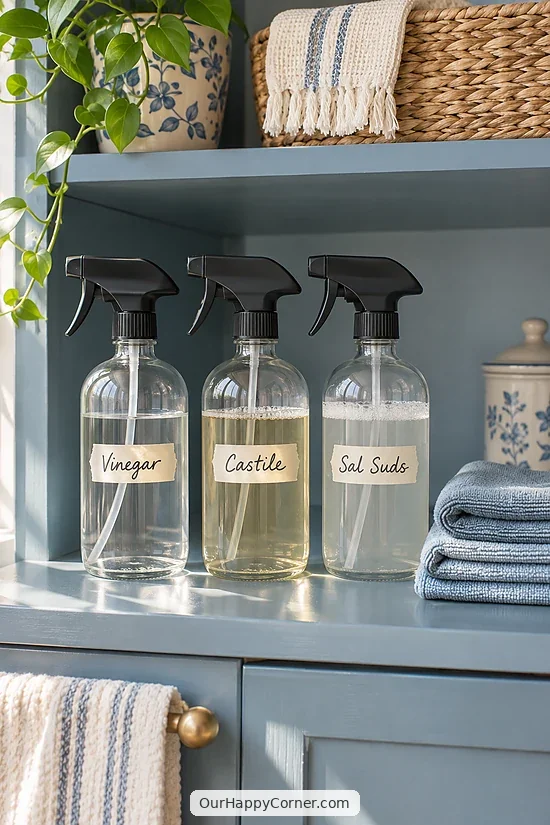
Then label it! Write “Vinegar Cleaner” and the date on a piece of masking tape. This keeps you from mixing it up with other bottles.
Recipe 2: Castile Soap All-Purpose Cleaner
This one is great if you hate the smell of vinegar.
You’ll need 2 cups of distilled water and 2 tablespoons of liquid castile soap. That’s it!
Step 1: Add the Water First, Then the Soap
Pour the water into your bottle first. Then add the castile soap.
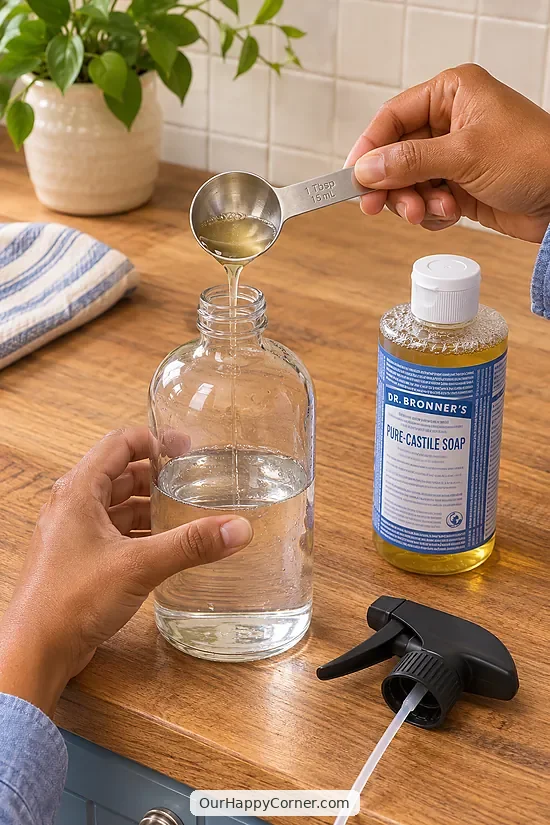
Water first is important. If you add the soap first, you’ll end up with a bottle full of foam.
Please don’t add extra soap, either. More is NOT better. Castile soap is very concentrated, and too much will leave a sticky white film on your surfaces.
Step 2: Shake Gently and Label
Put on the nozzle and tilt the bottle back and forth to mix. Skip the hard shaking, or you’ll get suds.
Label the bottle, and give it a gentle swirl each time you use it.
When you use this cleaner, go back over the surface with a damp cloth after you wipe. This stops any soap film from building up.
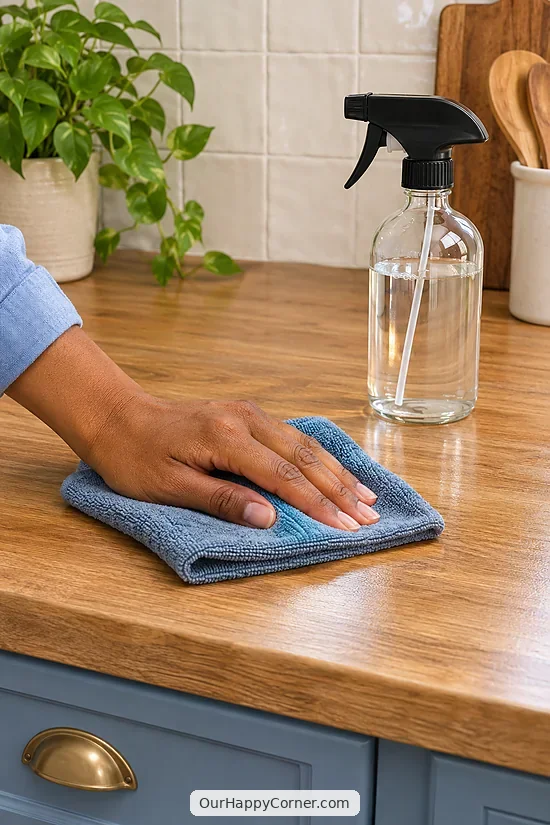
If your water is hard, you may still see a cloudy residue. Don’t panic! That’s the soap reacting with the minerals in your water. You can remove it with a separate vinegar rinse. Mix 1 cup of vinegar with 1 quart of water, spray it on, let it sit for about 5 minutes, then wipe it off and rinse with hot water.
Recipe 3: Sal Suds All-Purpose Cleaner
This is the one I reach for when I want strong cleaning power and no stress.
You’ll need 2 cups of distilled water and 1 1/2 teaspoons of Sal Suds.
Step 1: Add the Water First, Then the Sal Suds
Pour the water into your bottle first, then add the Sal Suds. Just like with castile soap, adding the water first keeps the foam down.
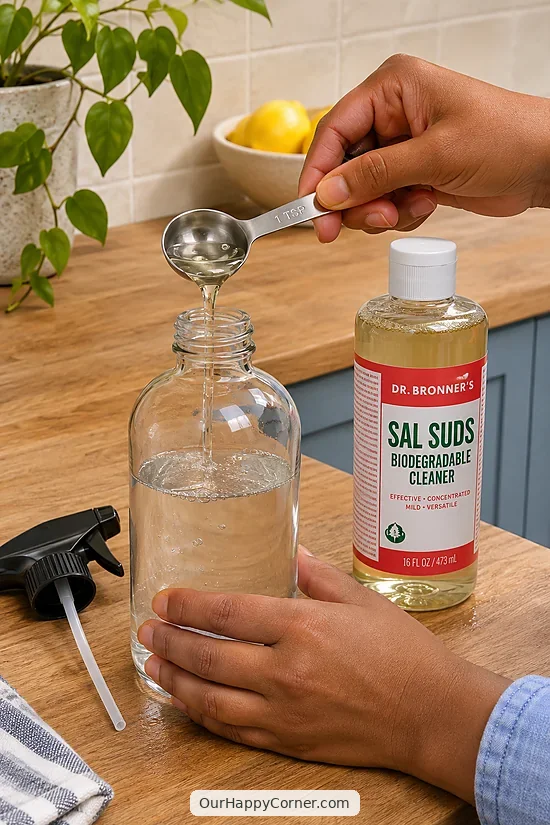
Step 2: Mix Gently and Label
Tilt the bottle to mix, put on the nozzle, and label it.
Sal Suds is a detergent, not a true soap, so it doesn’t react with hard water the way castile soap does. It’s also safe on natural stone. And it’s tough on greasy stovetops and kitchen counters.
Where to Use Your Homemade Cleaner
Spray the surface (or spray your cloth), then wipe clean with a microfiber cloth. For stubborn spots, let it sit for a minute or two first.
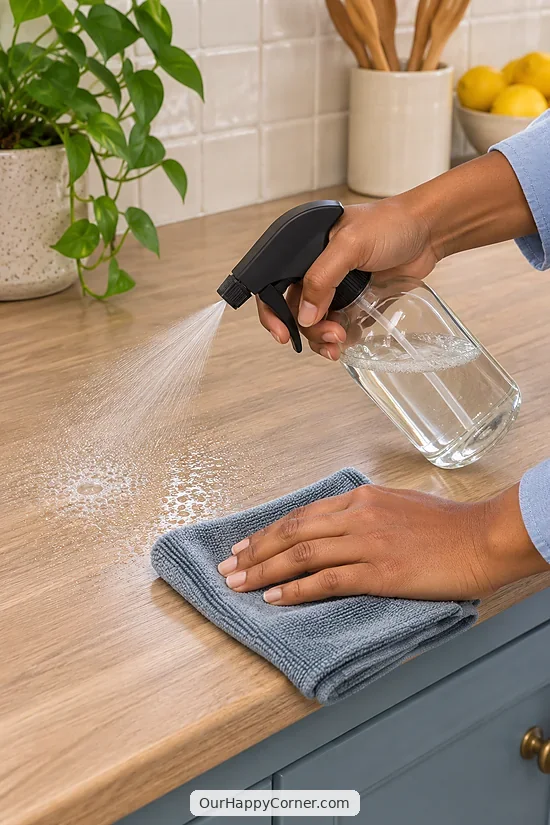
These cleaners work well on sealed kitchen counters, sinks, tubs, tile, stainless steel appliances, kitchen tables, cabinets, doorknobs, and light switches. If you’re refreshing your kitchen, you might also like my kitchen organization ideas to keep everything tidy afterward.
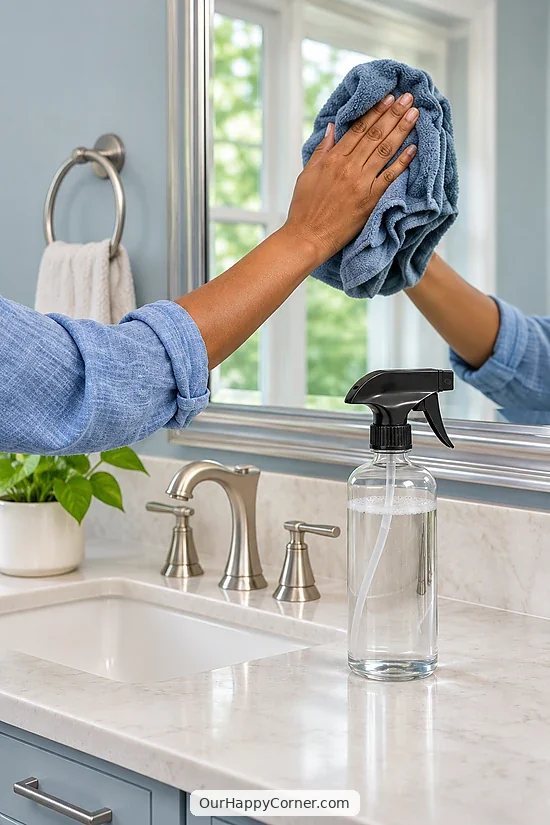
Use the vinegar spray on glass and mirrors. Castile soap tends to leave streaks. For another easy bathroom refresh, take a look at these bathroom organization ideas.
Dirty toys are fine too. Just go over them with a damp cloth afterward.
Whatever cleaner you use, spot test a small hidden area first. This is extra important on wood. Stick to sealed or painted wood, and skip waxed wood and hardwood floors with vinegar.
Where NOT to Use Vinegar
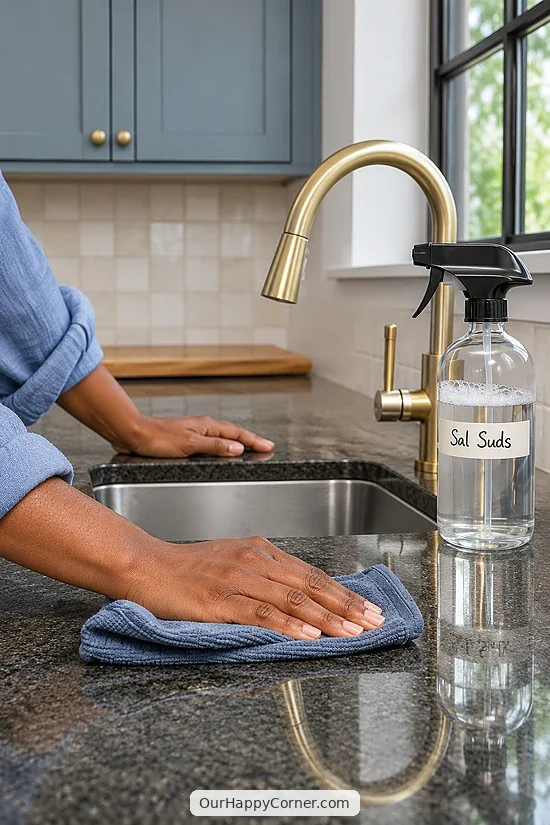
Please keep the vinegar spray off granite, marble, and other natural stone. The acid can dull the surface and cause etching over time.
Skip it on unsealed or cracked grout, because vinegar can wear it down.
Keep it off phone, tablet, laptop, and TV screens, and off the touchscreen in your car. Vinegar can damage the coatings on electronics.
For stone, use the castile soap or Sal Suds recipe instead.
Do These Cleaners Disinfect?
This is the part I really want you to know.
None of these recipes are disinfectants. They clean, which means they remove dirt, grime, and some germs. But they don’t kill germs the way an EPA-registered disinfectant does.
Vinegar can kill some bacteria. But it is not registered with the EPA as a disinfectant, and it isn’t proven against germs like norovirus or staph.
If someone in your house has been sick, or you’ve been handling raw chicken or meat, clean the surface first, then use an EPA-registered disinfectant. Check the label for an EPA registration number, and follow the contact time.
Don’t Make These DIY Cleaner Mistakes
A few small mistakes can ruin a good cleaner, or even make it unsafe.
Mixing vinegar and castile soap: This is a popular combo on Pinterest, but please don’t do it. Vinegar is an acid and castile soap is a base, so mixing them breaks the soap down into an oily, curdled mess. If you want to use both, use them one after the other, not in the same bottle.
Mixing vinegar with bleach: This releases toxic chlorine gas. Never do it.
Mixing vinegar with hydrogen peroxide or ammonia: Vinegar and hydrogen peroxide make peracetic acid, which can irritate your eyes, skin, and lungs. Use these products separately and rinse in between.
Using vodka instead of water: You may see this tip online. Vodka is only about 40% alcohol, which isn’t strong enough to disinfect. To kill germs with alcohol, you need at least 70% rubbing alcohol, used undiluted and not mixed into a cleaner.
Adding too much soap: Stick to the measurements. Extra soap just leaves residue.
A Quick Note About Essential Oils
Essential oils are totally optional. They add scent, but they won’t make your cleaner disinfect.
If you have pets, please skip them! Many essential oils are toxic to cats and dogs, including tea tree, peppermint, pine, eucalyptus, cinnamon, and citrus oils like lemon and orange. Cats are especially sensitive.
If you have no pets and want a light scent, use just a few drops and shake the bottle each time. Oil and water don’t mix, so it will separate.
How to Store Your Cleaners
Keep your bottles in a cool cabinet, away from sunlight and out of reach of kids and pets.
Make small batches. I like to mix a fresh bottle every few weeks, especially with the soap-based sprays.
Always label your bottles with the name and the date. If a cleaner looks cloudy or stringy, or smells off, toss it and make a fresh one.
Your New Favorite Cleaning Sprays
See? You don’t need a cabinet full of expensive cleaning products to keep your home fresh!
A few simple ingredients and a spray bottle are all it takes. Just remember to keep vinegar off natural stone, never mix your cleaners, and use a real disinfectant when you need to kill germs. If you enjoy DIY cleaning recipes, try my homemade laundry detergent powder next!